
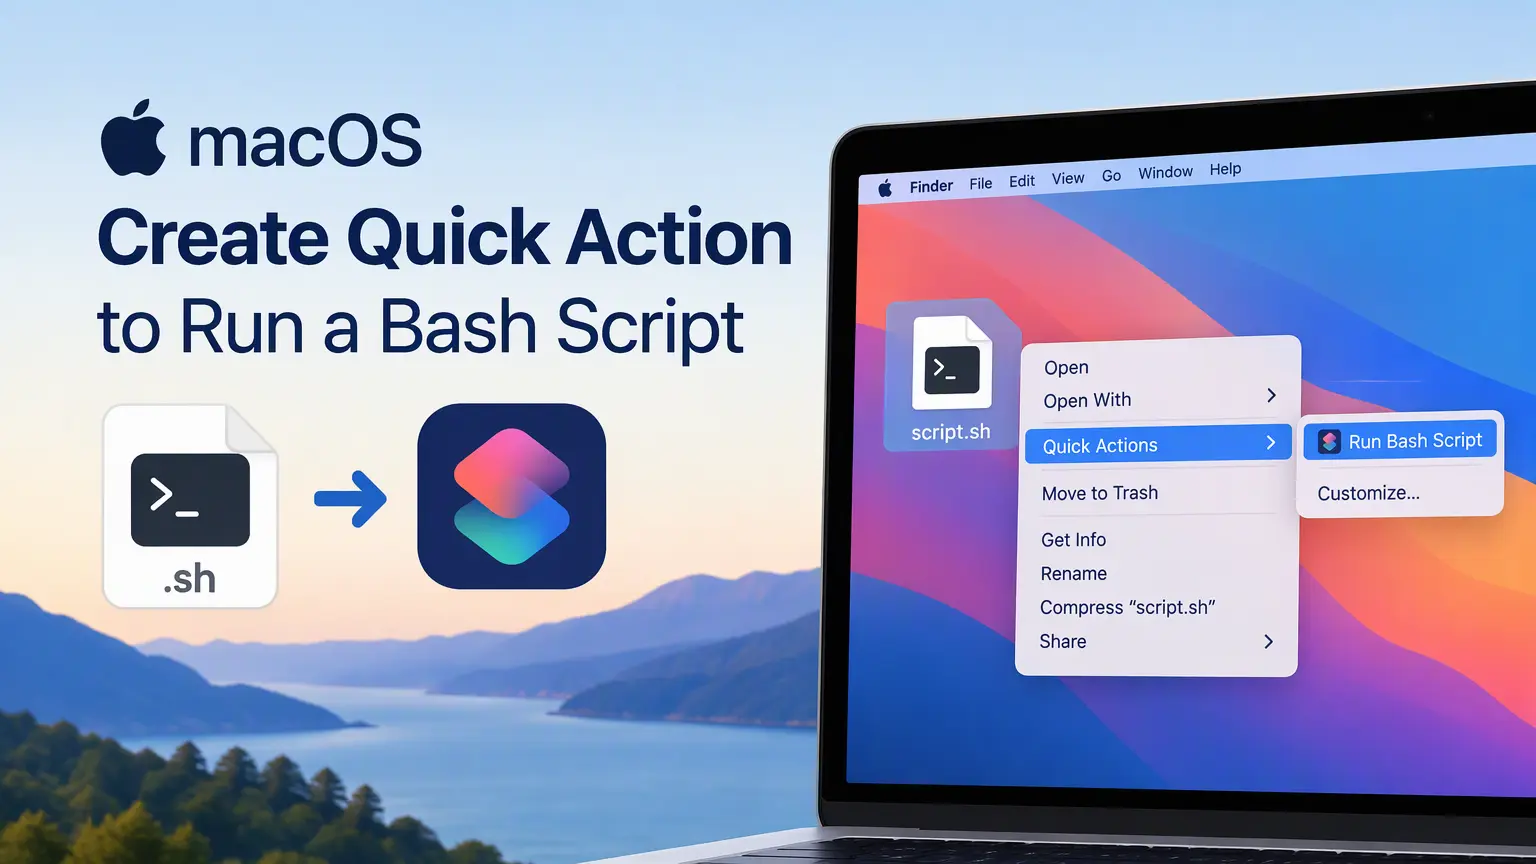
Creating macOS Quick Actions to Run Bash Scripts on Selected Files
macOS Quick Actions (formerly known as Services) allow you to extend the Finder context menu with custom automated workflows. Using Apple’s built-in Automator app, you can create actions that pass any selected files or folders directly into a Bash script for batch operations such as renaming, formatting, or image processing.
This guide covers:
- The Core Setup: How to create and configure a Quick Action workflow in Automator.
- Key Execution Details: Managing input arguments and handling macOS shell environments.
- Real-World Implementations: Three complete, production-ready use cases (batch ULID renaming, image padding to 16:9, and interactive image resizing).
- Summary: Quick reference table and best practices checklist.
1. How to Build a Quick Action in Automator
Follow these steps to create a generic Quick Action that executes a script on each selected file.
Step 1: Create a New Quick Action
- Open Automator (
⌘ + Space, type “Automator”, and pressEnter). - In the template chooser, select Quick Action and click Choose.
Step 2: Configure the Input Settings
At the top of the workflow pane, define what data the action expects and where it appears:
- Workflow receives current: Set to files or folders (or image files if your script only targets images).
- in: Set to Finder.
- (Optional) Choose an image or color to customize how the action appears in the menu.
Step 3: Add the “Run Shell Script” Action
- In the left-hand library search bar, search for Run Shell Script.
- Drag and drop the Run Shell Script action into the right workflow pane.
- Configure the action properties:
- Shell: Select
/bin/bash(or/bin/zsh). - Pass input: Change this setting from
to stdintoas arguments.
- Shell: Select
Important
Setting Pass input to as arguments is critical. It enables Finder to pass the POSIX paths of all selected items as standard command-line parameters ($1, $2, … or accessible collectively via "$@").
Step 4: The Base Bash Loop Template
When you select as arguments, Automator populates a default template. Iterate over each selected item using a standard for loop:
for f in "$@"
do
    # Your script logic goes here. "$f" represents the current file path.
    # Example: Append text to each selected file
    echo "Processed" >> "$f"
doneStep 5: Save and Run
- Go to File > Save (or press
⌘ + S). - Enter a name for your Quick Action (e.g., Run Custom Bash Script). The workflow is saved to
~/Library/Services/. - In Finder, select one or more files, right-click, and select your action under Quick Actions (or Services).
2. Environment and Architecture Considerations
When running scripts via Automator on macOS, keep the following in mind:
- Non-Interactive Environment: Automator does not run an interactive login shell, meaning personal startup profiles (
~/.bashrc,~/.zshrc) are not automatically sourced. - Homebrew Path: Tools installed via Homebrew (such as ImageMagick) reside in
/opt/homebrew/binon Apple Silicon. You must either prependPATH=/opt/homebrew/bin:$PATHin your script or call tools using their absolute binary path. - Inline Scripts vs. Wrapper Scripts: For quick single-line tasks, inline code directly in the Automator shell box. For complex operations, use the Automator shell box as a lightweight runner that invokes a modular script located in your local path (e.g.,
~/.local/bin/).
3. Real-World Quick Action Use Cases
Use Case 1: Add ULID Prefix to Selected Files/Folders
Prepends a unique, sortable ULID (Universally Unique Lexicographically Sortable Identifier) generated by an external ulidgen binary to every selected file.
- Workflow receives current:
files or foldersinFinder - Automator Shell Box:
prefix=$(~/.local/bin/ulidgen)

for f in "$@"
do
    if [[ -f "$f" ]]; then
        dirn=$(/usr/bin/dirname "$f")
        fi="${f##*/}"
        mv "$f" "$dirn"/"$prefix"_"$fi"
    fi
doneUse Case 2: Image Padding to 16:9 Aspect Ratio
Expands an image’s canvas horizontally to fit a 16:9 aspect ratio centered over a solid background color without cropping or altering the original image height.
- Workflow receives current:
image filesinFinder - Automator Shell Box:
for f in "$@"
do
	~/.local/bin/pad_to_169 "$f"
doneThe runner delegates to a standalone script, ~/.local/bin/pad_to_169. This script adds /opt/homebrew/bin to the PATH so magick can be executed, parses flags for custom palette colors, validates MIME types, and computes the new width via awk.
#!/opt/homebrew/bin/bash

# Exit immediately if a command exits with a non-zero status
set -e

PATH=/opt/homebrew/bin:$PATH

# Default background color
BG_COLOR="#36454F"
INPUT_FILE=""

# Parse arguments
while [[ "$#" -gt 0 ]]; do
    case $1 in
        -1)
            BG_COLOR="#36454F"
            shift
            ;;
        -2)
            BG_COLOR="#FFC8DD"
            shift
            ;;
        -*)
            echo "Error: Unknown option: $1"
            echo "Usage: $0 [-1|-2] <image_file>"
            exit 1
            ;;
        *)
            if [ -z "$INPUT_FILE" ]; then
                INPUT_FILE="$1"
            else
                echo "Error: Unexpected extra argument: $1"
                exit 1
            fi
            shift
            ;;
    esac
done

# Check if an input argument was provided
if [ -z "$INPUT_FILE" ]; then
    echo "Error: No file name provided."
    echo "Usage: $0 [-1|-2] <image_file>"
    exit 1
fi

# 1. Verify file exists and is an image
if [ ! -f "$INPUT_FILE" ]; then
    echo "Error: File '$INPUT_FILE' does not exist."
    exit 1
fi

# Check if ImageMagick 'magick' command is available
if ! command -v magick &> /dev/null; then
    echo "Error: ImageMagick 'magick' command is not installed or not in PATH."
    exit 1
fi

# Verify mime type/format is an image
MIME_TYPE=$(file --mime-type -b "$INPUT_FILE")
if [[ ! "$MIME_TYPE" =~ ^image/ ]]; then
    echo "Error: '$INPUT_FILE' is not a valid image file (detected MIME: $MIME_TYPE)."
    exit 1
fi

# 2. Get width and height of the image into variables
ORIG_WIDTH=$(magick identify -ping -format "%w" "$INPUT_FILE")
ORIG_HEIGHT=$(magick identify -ping -format "%h" "$INPUT_FILE")

echo "Original Image: $INPUT_FILE (${ORIG_WIDTH}x${ORIG_HEIGHT})"

# 3. Calculate new width as integer to be closest to aspect ratio 16:9
NEW_WIDTH=$(awk "BEGIN { print int( ($ORIG_HEIGHT * 16 / 9) + 0.5 ) }")

if [ "$NEW_WIDTH" -lt "$ORIG_WIDTH" ]; then
    NEW_WIDTH="$ORIG_WIDTH"
    echo "Notice: Original width already meets or exceeds 16:9 width for this height."
    exit 1
fi

echo "Target 16:9 Width: $NEW_WIDTH, Height: $ORIG_HEIGHT"
echo "Background Color: $BG_COLOR"

# Define output file name
EXTENSION="${INPUT_FILE##*.}"
BASENAME="${INPUT_FILE%.*}"
OUTPUT_FILE="${BASENAME}_16_9.${EXTENSION}"

# 4. Extend the input image horizontally with the chosen background color, centered
magick "$INPUT_FILE" \
    -gravity center \
    -background "$BG_COLOR" \
    -extent "${NEW_WIDTH}x${ORIG_HEIGHT}" \
    "$OUTPUT_FILE"

echo "Success! Output saved to: $OUTPUT_FILE"Use Case 3: Interactive Image Resize to User-Defined Height
Prompts the user with a native macOS dialog to enter a target height in pixels, then proportionally resizes all selected images using ImageMagick.
- Workflow receives current:
image filesinFinder - Automator Shell Box:
~/.local/bin/resize\ to\ height "$@"The underlying script uses osascript to render native macOS UI dialogs for user input and completion alerts, and uses absolute paths for the ImageMagick binary:
#!/opt/homebrew/bin/bash

# Ask user for the target height using Zenity
HEIGHT=$(osascript -e 'text returned of (display dialog "Enter target height in pixels:" default answer "1500" with title "Resize Image")')

# Exit if user cancelled or entered nothing
[ -z "$HEIGHT" ] && exit 0

# Loop through all selected files passed by Nautilus
IFS=$'\n'
for file in "$@"; do
    if [ -f "$file" ]; then
        # Extract directory, filename, and extension
        dir=$(dirname "$file")
        base=$(basename "$file")
        ext="${base##*.}"
        name="${base%.*}"

        # Output file path with new height appended
        output="$dir/${name}_h${HEIGHT}.$ext"

        # Resize using ImageMagick (geometry 'xheight' scales proportionally)
        /opt/homebrew/bin/magick "$file" -resize "x$HEIGHT" "$output"
    fi
done

# Notify user when complete
osascript -e 'display dialog "Images successfully resized to height: '"${HEIGHT}"'px" with title "Resize Complete" buttons {"OK"} default button "OK"'4. Summary
macOS Quick Actions provide a lightweight, native method to bind custom shell scripts directly to the Finder context menu without third-party utilities.
Key Takeaways & Quick Reference
| Component / Setting | Configuration | Description / Purpose |
|---|---|---|
| Workflow Type | Quick Action | Integrates directly into Finder’s context menu and Preview pane. |
| Input Type | files or folders or image files |
Restricts action visibility to relevant selected file types. |
| Pass input | as arguments |
Passes selected file paths as positional parameters ($@). |
| Base Loop | for f in "$@"; do ... done |
Iterates safely over files, handling spaces and special characters. |
| Path Handling | export PATH="/opt/homebrew/bin:$PATH" |
Grants access to Homebrew binaries (magick, etc.) on Apple Silicon. |
| Modular Scripts | Wrapper calling ~/.local/bin/<script> |
Keeps Automator actions lean and logic testable via terminal. |
| GUI Alerts & Dialogs | osascript -e 'display dialog ...' |
Prompts user for input or presents task completion alerts. |
| Saved Location | ~/Library/Services/ |
Where macOS stores user-created Quick Action workflows. |
Best Practices Checklist
- ✅ Quote variables (
"$f","$@"): Protects against unexpected argument splitting on spaces in paths. - ✅ Explicitly configure
PATH: Automator does not run login shell profiles (.bashrc/.zshrc). - ✅ Validate inputs and binaries: Check
command -v <tool>and inspect MIME types before processing. - ✅ Separate UI from logic: Use standalone shell scripts for heavy logic and keep the Automator action as a lightweight trigger.